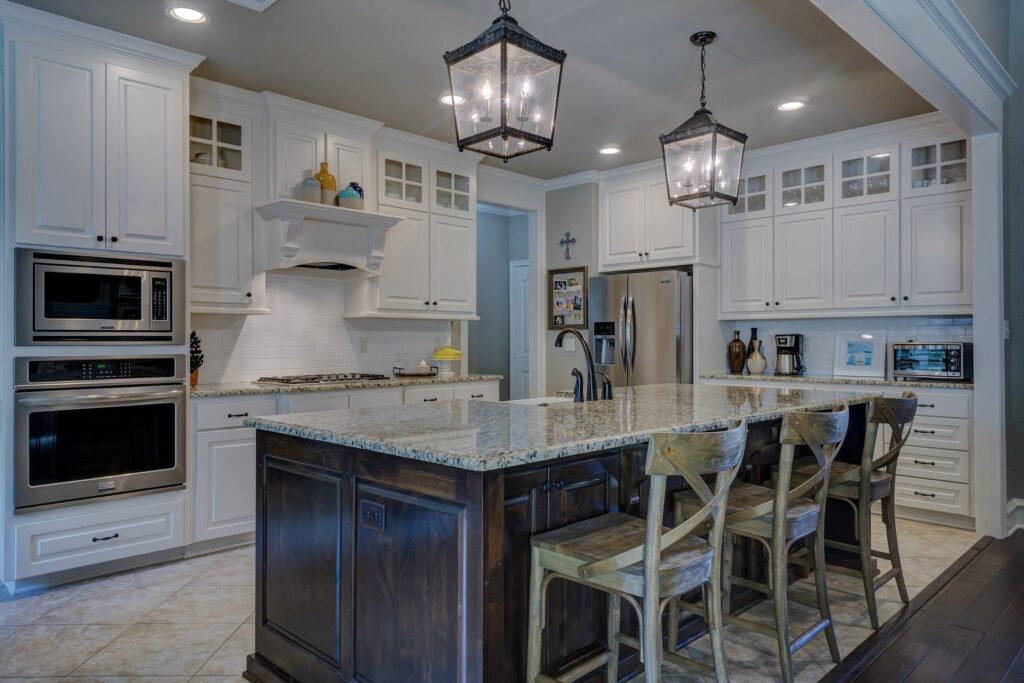
There is nothing that spruces a home quite like a new kitchen but, as we all know, a new kitchen can be expensive. The average cost of a new kitchen in the UK is £8,000 and £5,000 of that is the new cabinets. If you don’t want to spend quite that much but still want to update your kitchen’s look, then why not just paint your kitchen cabinets? It costs around £80 per cabinet, so you could end up saving thousands. It is frankly amazing the difference adding a lick of paint can make to your kitchen, and your home. But how do you even get started? What paint should I use? How do I prepare for this home improvement task? Well-read on for our handy, informative guide on how to paint, kitchen cabinets.
Make sure that your cabinets are in good enough condition to be painted

Unfortunately, some kitchen cabinets just aren’t in a good enough state to be renewed. If your cabinets are fragile, the bottoms are starting to sag, the doors aren’t hanging right, or the veneers are starting to become delaminated, it might be better for you to bite the bullet and shell out for some new ones.
You should also take into account the material that your cabinets are made from, this is important as wood cabinets are perfect for painting. If your cabinets are laminated, don’t worry, you can still paint on this material! Just look out for any peeling, cracked or bulking, as painting over these blemishes isn’t going to make much difference. If your laminate cabinets have these signs, you may need to replace them completely. But you can also opt to use your old cabinets for other upcycling projects!
Decide what type of paint you want
Let’s get the fun bit out of the way first: choosing the look you will go for. This is actually an important decision because painting kitchen cabinets is a big job and you really don’t want to end up having to do it twice in quick succession. The colour scheme is, of course, a matter of personal preference but choosing the right paint does have some impact on how easy the cabinets are to paint and how durable they will be.
Matt/chalk –
These types of paints can give a great rustic/country kitchen look and they are easy to paint with. This type of paint will stick to most surfaces with little to no sanding. They are less durable, however, and are more prone to chipping and scratching, so you may end up having to redecorate slightly sooner than you would have liked to.
Satin –
With its smooth finish and shiny sheen when it’s dried, satin paint is a fantastic option to pain your cabinets with thanks to its hardy nature and is holds up when washed. But this type of paint does not hide blemishes and imperfection on the surface or when you have to do touch ups.
Gloss –
Gloss paint is incredibly durable and reflects light with excellence, gloss pain also has a high resilience to moisture thanks to its density. If you choose gloss paint preparation is key as gloss will show every imperfection upon application, make sure that the surface is clean and smooth before you apply.
Oil Based Paints –
Also known as solvent based paint, this type of paint is often used by professionals for its hard finish that is durable and resists moisture and water than other paints. This type of paint is perfect for stained cabinets. If you are wanting a finish that will look great for years and years, an oil based paint is your best option. While this type of paint offers great resistance, this comes at the price that oil based paint take a long time to dry, and we mean a long time. So, if you wish to paint cabinets with oil paint, make sure you are prepared to have a large drying area and don’t mind waiting.
Latex Paints –
Latex paints are your friendly easy to use paint that requires little prep beforehand such as priming, this type of paint latches onto wooden surfaces such as your cabinet frames with ease. This style of paint also comes in a range of finishes, giving your cabinets texture. The only drawback with latex paint is its durability, with it being thin also it is easy to leave brush marks.
Deciding whether to strip your kitchen cabinets
The great debate: to strip or not to strip. There is a school of thought that says you should always fully strip off the previous layer of paint before you put a new one on, but doing so is quite time consuming and may not always be necessary. The purpose of stripping is that a painted surface is much less rough than a bare wood surface, which means that a new layer of paint will adhere to it less well. But you can make a painted surface rougher, and easier for the new paint to adhere to, by sanding it down.
Sanding down painted cabinets is the go-to method of stripping a cabinet door but do be careful as to much vigorous sanding can damage the wood lying underneath. So, when sanding wood make sure to sand evenly to avoid making unwanted delves and gouges. You can use either sandpaper or power tools, but the advice remains the same, keep a consistent level of sanding to avoid any accidents.
You can also use a hot air gun, this method removes paint quickly and with ease, but you must be incredibly carful as you can scorch the wood! Also do note that a hot air gun removes paint and cannot be used to remove varnish as it will turn the varnish into an almost glue-like substance that will ruin your cabinets.
Using a chemical stripping agent is another option, this is best for intricately designed cabinets and cabinets that have multiple paint layers present while also providing the best results! When using a chemical method, you must take care. Read the safety instructions thoroughly and make sure you have all the equipment needed.
It is important, however, to make sure that you thoroughly clean and degrease the surface before you start painting on it. Cooking creates so much grease in your kitchen, which sticks to the surface of your cabinets, and this will make it much harder for your new paint to stick.
It’s probably a good idea to take off all the doors
Not everyone takes off their kitchen cabinet doors, and instead use masking tape to cover hinges and other metalwork, but it is usually a good idea to take the doors off berfore painting them. It is going to be much harder for you to do a neat and professional-looking job with the cabinet doors in situ, and the whole process will be more difficult and stressful.
If you’re able to, it can be wise to invest in painter’s pyramid. Painter’s pyramids will suspend the door in the air so that you can paint the front, back, and sides all in one go without having to wait for it to dry before you turn it over. Using painter pyramids in addition to your setup, regardless of how you choose to paint your cabinet doors, Painter’s Pyramids are a simply a must-have.
It’s probably a good idea to take off all the doors
It is also a good idea to clearly label exactly where each door goes. You might think it’ll be obvious to you where each door came from, but when you’re standing over a sea of kitchen cabinet doors it suddenly gets a lot more difficult. We recommend drawing a diagram of the kitchen and labelling not only the doors but the corresponding cabinet where the cabinet door has come from. This makes it far easier when reassembling your kitchen cabinets, as with any D.I.Y paint job the more your prep that better the outcome.
Prep the room before you start
Painting your kitchen cabinets is a big job and it takes a relatively long time, so you need to be prepared before you start. You may well not be able to use your kitchen as you normally would, so think about how you are going to be eating while the job is happening and get everything ready and in place.
If you have the space that doesn’t get used as much as the kitchen and has ample room to dry your cabinet doors, setup in there as the kitchen is usually a heavy traffic area within the home and it can be difficult to complete this job within confined spaces.
You will need to empty all of your cabinets of their food and products and clear all of the kitchen sides of their appliances. Then cover all of the fixed appliances with sheeting, as well as the counters, and use masking tape along the edges of the cabinets to protect your walls. Remove the cabinet doors if you are going to, and take out their hinges and handles.
If you are lacking the appropriate space or cannot remove them cover the hinges with masking tape, but do take the handles off.
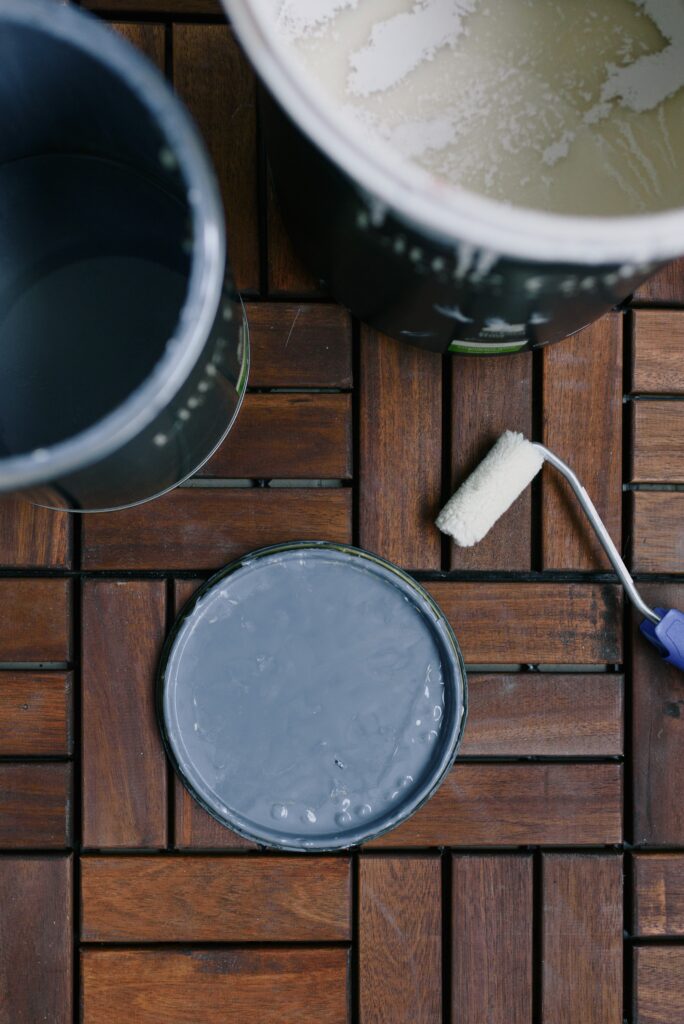
Paint the cabinets!
You will usually need to do around one or two coats unless you are going for a much lighter colour than you currently have, in which case you might need more. Before you begin, you should use a primer and wait for it to dry. Then start by filling in the nooks and crannies before moving onto the main part of the cabinet. Always work from top to bottom when painting the cabinets, and make sure that you are painting across the grain rather than with it. Most people use a brush and/or a roller, but if you want a smoother finish, you could opt for a spray gun instead if your local paint store or D.I.Y store sells them. Each has their own pros and cons, which we talk about below.
Paint Brush –
The old faithful paint brush is usually the first port of call when you are deciding to go ahead painting cabinets. Brushes can be a natural bristle brush or can be a synthetic bristle brush, either is fine for painting your cabinets also your standard bush works with nearly all types of paint including oil based paints, latex paints, etc.
Pros –
Come in range of sizes
Cheap & works with nearly all paints
Perfect for small detailing such as to paint edges and getting into nooks
Cons –
Bristles breaking off and mixing with your paintwork
Considerably slower painting large surfaces in comparison to a roller
Roller –
Using a roller for a job like this may seem like overkill for painting doors, but if you have especially large cabinet doors, a roller is a perfect option for speeding up the job while spreading an even coat across the surface. Rollers also can come in a variety of materials such as foam, felt, polyester and multiple others.
Pros –
Speedy application of paint for those larger areas that would usually take up more time using a traditional paintbrush.
Smooth finish, even and consistent paint application, leaving a seamless appearance.
Less labour intensive
Cons –
Some high-quality rollers can be expensive in comparison
Can’t be used to paint smaller areas such as nooks and bevels in the cabinet design.
Paint Sprayer –
If you want to save time while getting a professional finish, then a sprayer might be the answer that you are looking for. As using a spray paint gun can save you loads of time from having to put on multiple coats of paint as you just spray paint!
Pros –
Considerably faster paint time.
Paint dries faster.
Even paint application.
More professional looking result
Cons –
Cleaning the paint sprayer takes longer than brushes or rollers.
Expensive
Any touch ups can only be done with the sprayer
All these items can be found at your local hardware shop or can be easily purchased via online retailers like Amazon.
Now that you have a more information on the ways that you can paint, take your time and see if you have the budget or the time to get started on this paint job.
Wait for the paint to cure
It is tempting to get your kitchen back in order as quickly as possible, but it really is worth your while to wait for your wet paint to cure. If you don’t, you could end up with smudged paint, in which case you will have an even bigger job on your hand. When selecting your paint, take into account on how much time your paint will take to dry. Different paint types take different lengths of time to cure, so make sure that you read the instructions carefully, and use your judgement to make sure that it really is ready!
Painting Cabinets – The bottom line
It is definitely possible to completely update your kitchen on a budget, just by painting your kitchen cabinets. It is a big job, but it can save you a lot of money, so it is often well worth it. Just make sure that you have everything ready before you start and have a good feel for how to paint kitchen cabinets, and you will have a kitchen that feels just like new in no time!
Just remember to take your time as it isn’t a race, flying through this job rushing along every step of the way is a sure-fire way to be left with, yes, a revitalised kitchen but all the tell-tale signs of a rush job, scuffs, sloppy paint application and a blotchy uneven finish. Slow and steady wins the race as you want the best possible result, preparation is key and carful application of paint is vital for this project to go swimmingly.