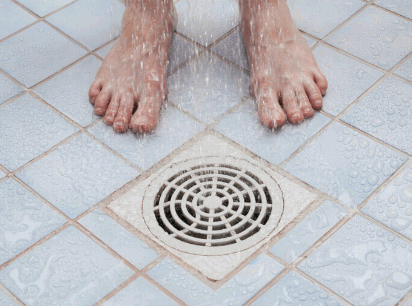
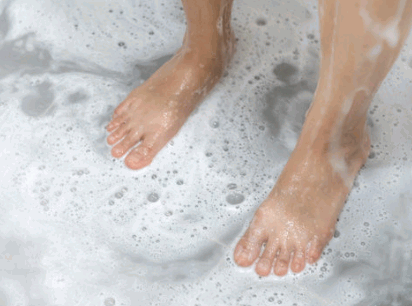
Are you tired of dealing with a clogged shower drain? From hair buildup to soap scum, there are a variety of reasons why your shower drain may be clogged.
In this article, we will discuss the common causes of shower drain clogs and provide tips on how to prevent them. We will also explore various methods for fixing a shower drain clog, whether it’s using a plunger, drain snake, or homemade cleaner.
Stay tuned to learn how to maintain a clear shower drain and avoid future clogs.
What Causes Shower Drain Clogs?
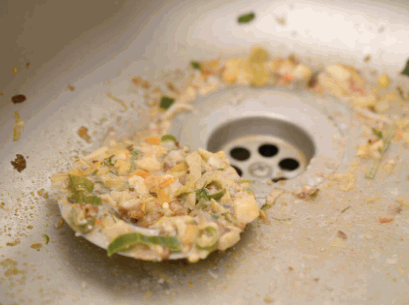
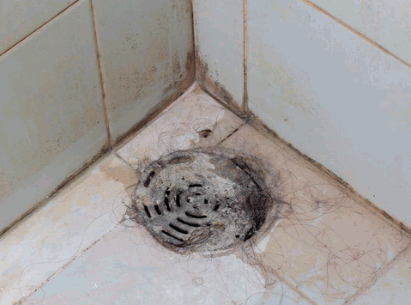
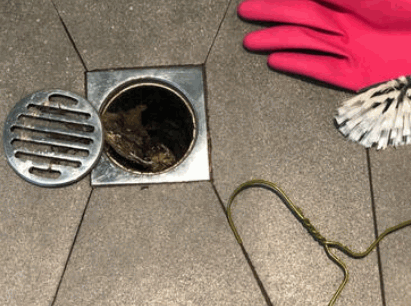
Shower drain blockages can occur due to various reasons, including hair build-up, soap scum accumulation, and other obstructions that hinder proper water flow through the drain.
Hair is a common culprit in causing shower drain blockages as it tends to clump together, constricting the drain’s passageway. This can be worsened when soap residue combines with the hair, creating a sticky barrier that slows down the water flow. Various types of blockages, such as mineral deposits or foreign objects accidentally pushed into the drain, can further contribute to plumbing issues. Identifying the specific cause of the blockage is crucial to determine whether professional assistance is needed for the effective removal and prevention of future blockages.
Dive into details: How To Clean Drain In Sink
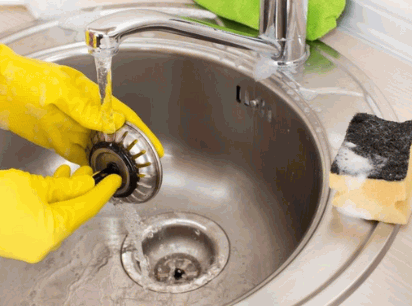
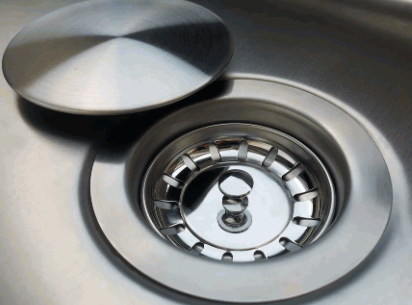
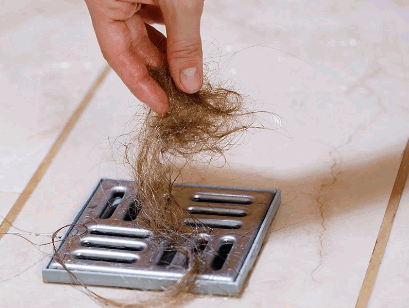
Hair Buildup
Hair buildup in shower drains is a common issue that can impede water flow and lead to blockages, requiring effective removal methods to prevent further plumbing problems.
When hair accumulates in drains, it mixes with soap scum, dirt, and other debris, creating a dense blockage that sticks to the pipes. This reduces the drain’s efficiency and can eventually cause overflowing or slow drainage.
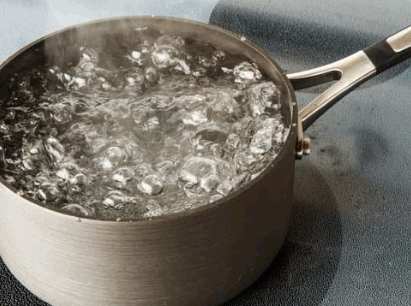
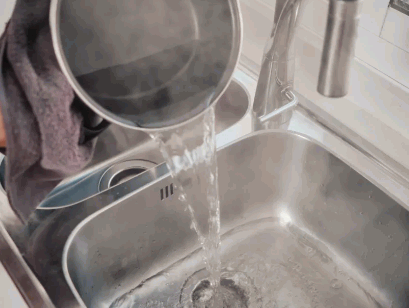
There are some simple DIY techniques you can implement to address this issue before it escalates. Regularly using a drain strainer to catch hair, and periodically flushing the drain with a mixture of hot water and vinegar can help prevent hair blockages from forming. It’s essential to deal with hair accumulation promptly to avoid having to resort to harsh chemical drain cleaners or expensive professional services.
Soap Scum And Mineral Buildup
Soap scum and mineral build-up can contribute to shower drain blockages over time, necessitating preventive measures and effective solutions such as vinegar and bicarbonate of soda treatments to maintain clear drains.
The accumulation of soap scum and mineral deposits can gradually restrict the flow of water through the drain, leading to slow drainage and potential blockages. Regular cleaning and maintenance are crucial to prevent these issues.
To avoid the inconvenience of dealing with blocked drains, it’s advisable to incorporate simple habits like using drain strainers to catch debris before it can accumulate. Being mindful of what goes down the drain, such as avoiding pouring grease or oils, can significantly reduce the likelihood of blockages.
Eco-friendly solutions like vinegar and bicarbonate of soda not only help break down build-up but also minimize the environmental impact of harsh chemicals.
Foreign Objects
Foreign objects mistakenly washed down shower drains can lead to blockages that may require professional services to safely remove, highlighting the importance of exercising caution and implementing safety measures.
Typical culprits such as hair, soap scum, and small objects can easily accumulate and create a stubborn blockage, making it essential to be mindful of what goes down the drain.
Whilst it may be tempting to try DIY methods or use chemical cleaners, these actions can sometimes worsen the situation or pose health risks.
Professional plumbers have the expertise and tools to efficiently dislodge and remove obstructions, ensuring that your drain functions properly.
To prevent object-related clogs, consider installing drain covers or strainers, emptying them regularly, and avoiding activities like shaving over the sink to minimize the risk of accidental blockages.
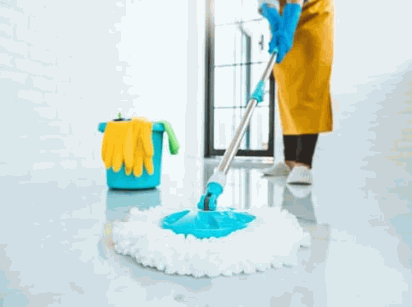
How To Prevent Shower Drain Clogs?
Preventing shower drain blockages is crucial for maintaining efficient drainage and avoiding costly plumbing issues, with DIY home maintenance tips and tricks playing a significant role in establishing a regular maintenance schedule.
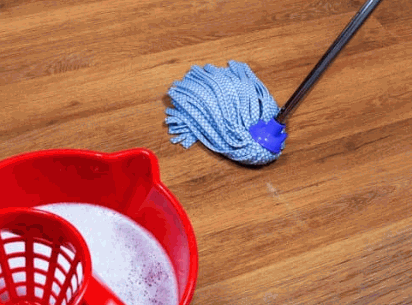
Regularly cleaning the shower drain by removing hair, soap scum, and other debris can help prevent blockages. Using a drain strainer to catch larger particles before they enter the drain can also be highly effective. Pouring a mixture of hot water and vinegar down the drain once a month can help dissolve buildup and keep it clear. Implementing these simple maintenance tasks can go a long way in ensuring a smooth-flowing drain and a hassle-free shower experience.
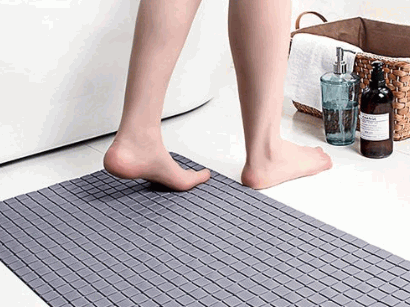
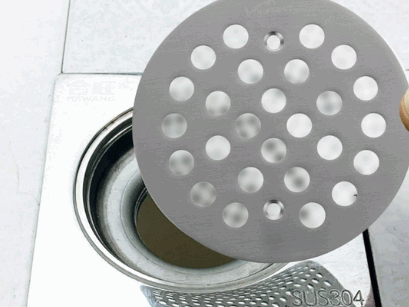
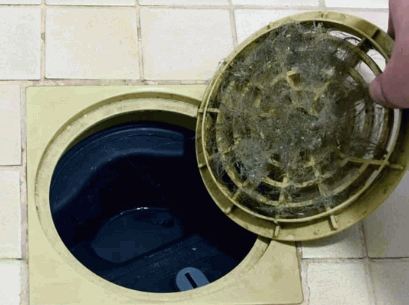
Use A Drain Cover
Using a drain cover is a simple yet effective way to prevent debris and hair from entering the drain, serving as a practical accessory that can be easily incorporated into household items for enhanced drainage protection.
By installing a drain cover, you can significantly reduce the risk of blockages and obstructions in your pipes, saving you the bother of dealing with costly plumbing repairs further down the line. These covers are designed to trap hair, food particles, and other small objects that would otherwise slide into the drain, causing potential blockages. By proactively using a drain cover, you are taking a precautionary measure that encourages the smooth flow of water and prevents the inconvenience of slow drainage or complete blockages.
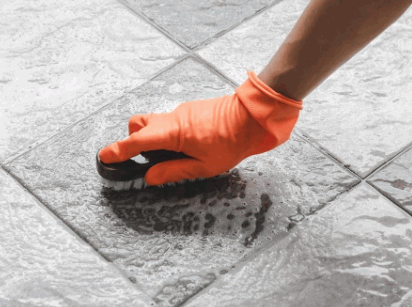
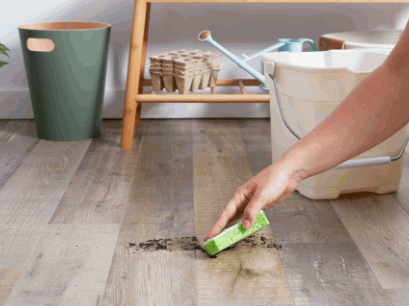
Regularly Clean The Drain
Regularly cleaning the shower drain with natural solutions like vinegar and bicarbonate of soda can help prevent blockages and establish a maintenance routine that ensures optimal water flow.
By integrating these eco-friendly methods into your cleaning regime, you not only promote sustainability but also reduce the need for strong chemicals that can be harmful to both your drains and the environment.
The simple act of maintaining clean drains can significantly reduce the likelihood of unpleasant blockages occurring, saving you the trouble of dealing with expensive repairs in the future. Consistent maintenance for your drains goes a long way in preserving the efficiency of your plumbing system and ensuring smooth water flow throughout your home.
Avoid Pouring Grease And Oil Down The Drain
To prevent shower drain blockages, it’s essential to avoid pouring grease and oil down the drain, as these substances can solidify and contribute to blockages, adhering to the dos and don’ts of effective blockage remedies.
Instead of pouring grease and oil down the drain, it’s recommended to collect them in a disposable container and dispose of them properly to prevent blockages.
Incorporating a regular maintenance routine can help keep shower drains flowing smoothly. Installing drain guards to catch hair and debris before they enter the pipes is a proactive step in preventing blockages. Regularly flushing drains with hot water and vinegar can help dissolve buildup and maintain optimal drainage.
Remember, simple habits like avoiding the use of harsh chemical cleaners and opting for enzymatic cleaners can also aid in preventing excessive blockages.
How To Fix A Shower Drain Clog?
Fixing a shower drain blockage promptly is vital to restore proper drainage, with DIY methods like using a plunger or drain snake offering effective solutions to unblock the drain and prevent further water blockage.
When dealing with a shower drain blockage, the first step is to remove any visible debris using gloves. Following that, try using a plunger with a strong seal over the drain to dislodge the blockage by creating a vacuum. If the plunger doesn’t work, a drain snake can be used to push through and pull out the blockage. Remember to choose a drain snake suitable for the size of your pipes. For persistent blockages, consider using a chemical drain cleaner, ensuring to follow all safety precautions. Regular maintenance with a hair catcher can prevent future blockages, keeping your shower drain running smoothly.
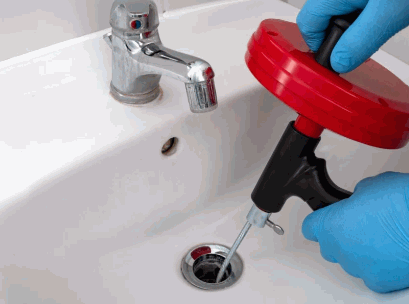
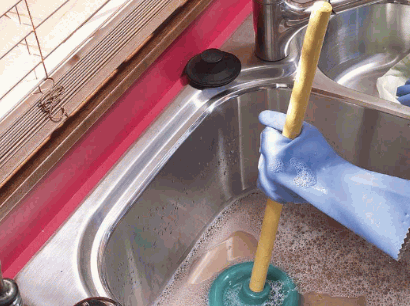
Use A Plunger
Using a plunger is a common and effective method to fix a shower drain blockage, as this versatile tool can create pressure to dislodge blockages and restore proper water flow, making it a practical household item for blockage solutions.
When using a plunger to address a shower drain blockage, it’s important to ensure a proper seal is formed between the plunger and the drain opening. This seal enhances the pressure created during plunging, increasing the effectiveness of dislodging the blockage. Using quick and firm plunging movements can help break up the obstruction and restore water flow. Keeping a plunger handy in your home can save you time and hassle when dealing with unexpected blockages, providing a quick and efficient solution to common plumbing issues.
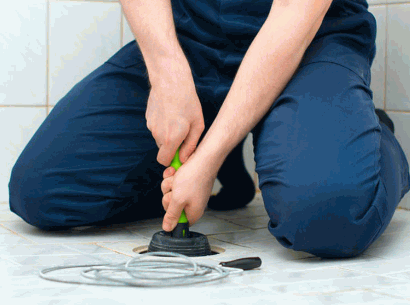
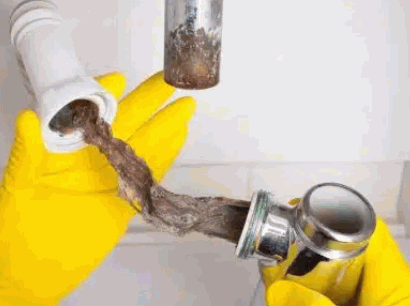
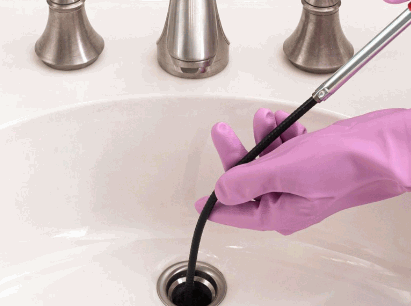
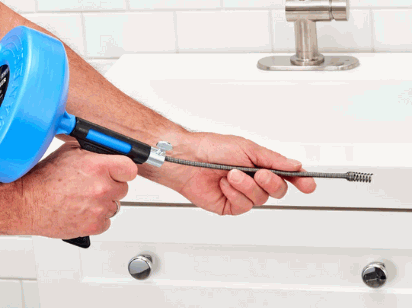
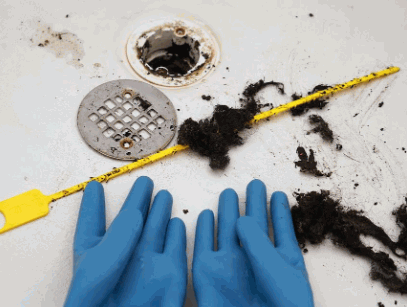
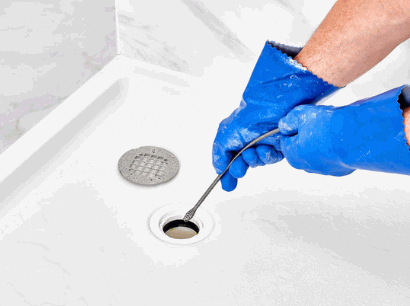
Use A Drain Snake
Employing a drain snake as a mechanical method to fix a shower drain blockage can effectively remove blockages deep within the pipes, offering a reliable plumbing tool for dealing with stubborn blockages and restoring proper drainage.
This flexible tool is designed to navigate through the twists and turns of your plumbing system, reaching areas that are often inaccessible by other means. The drain snake’s ability to twist and turn, combined with its robust construction, allows it to break up and dislodge even the most stubborn blockages, such as hair, soap scum, or mineral build-up. By using a drain snake, you can avoid strong chemicals that may harm your pipes and instead choose a more environmentally friendly approach to maintaining your plumbing system.
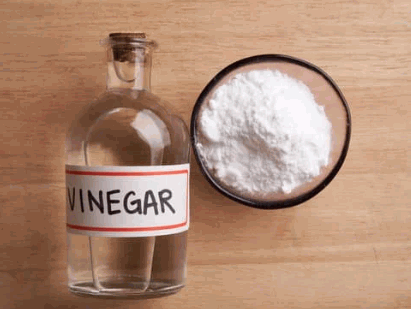
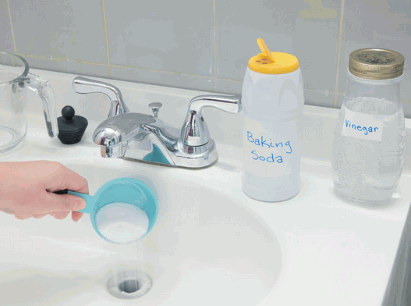
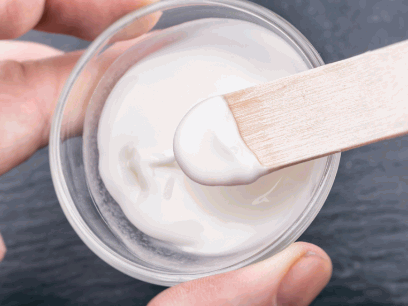
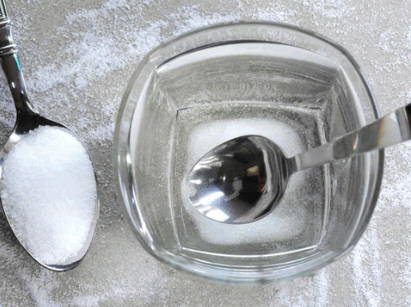
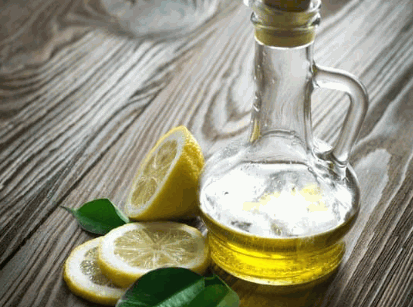
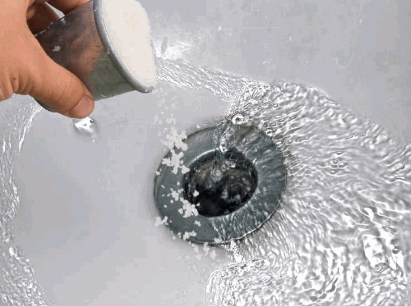
Use a Homemade Drain Cleaner
Using a homemade drain cleaner with natural ingredients like vinegar and bicarbonate of soda can provide an eco-friendly solution to fix shower drain blockages, offering quick and cost-effective results without resorting to harsh chemicals.
These household items not only assist in breaking down debris and hair blockages but also serve as a mild alternative to commercial drain cleaners. The fizzy reaction created by combining vinegar and bicarbonate of soda produces bubbles that help dislodge blockages effectively. This approach is not only environmentally friendly but also gentle on your pipes, reducing the risk of corrosion or damage. Homemade drain cleaners are cost-effective and easily accessible in most kitchens, making them a convenient choice for routine drain maintenance.
Call A Professional Plumber
In complex cases of shower drain blockages or emergency situations, seeking assistance from a professional plumber is advisable to ensure thorough cleaning, efficient solutions, and effective maintenance for long-term drain health.
Expert plumbers have the necessary skills, tools, and knowledge to address severe blockages that household remedies may not be able to resolve. They use specialized equipment like drain rods and hydro-jetting to clear out blockages effectively. By using professional services, homeowners can prevent recurring blockages and potential damage to their plumbing systems. Experienced plumbers can provide valuable advice on maintaining proper drain cleanliness and suggest preventive measures to avoid future problems. Opting for professional plumbing services ultimately results in peace of mind, knowing that the drains are functioning optimally.
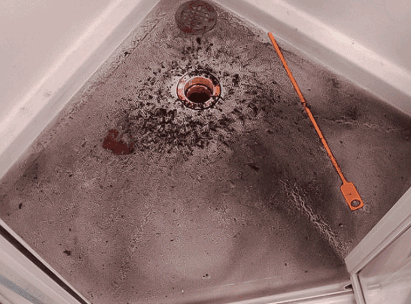
What Are The Signs Of A Serious Shower Drain Clog?
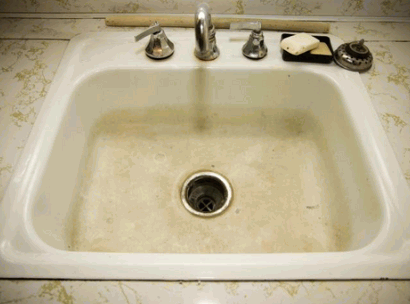
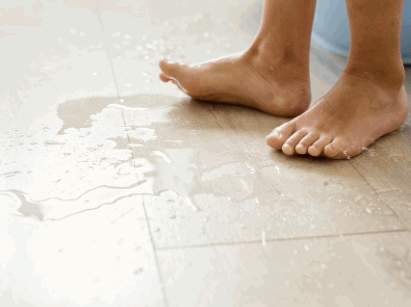
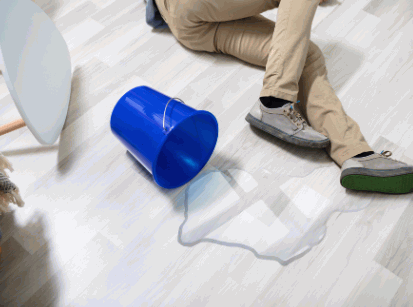
Identifying signs of a serious shower drain blockage, such as water backing up, foul smells, and slow drainage, is vital for immediate action and efficient resolution of potential blockage issues.
Water backing up is often one of the initial warning signs that a blockage may be developing in your shower drain. This can lead to water collecting in the base of the shower, providing a breeding ground for harmful bacteria.
Foul smells coming from the drain can suggest a significant blockage problem that requires urgent attention. Slow drainage can be not only irritating but can also lead to water damage to your property if not addressed. Therefore, timely action is crucial to prevent further issues and uphold the correct operation of your plumbing system.
Water Backing Up
Water backing up in the shower is a clear sign of a severe drain blockage that requires immediate attention to prevent further plumbing issues, necessitating effective solutions to restore proper drainage.
When water begins to collect in the shower due to drain blockages, it not only creates an inconvenience but can also lead to more serious water damage if left unaddressed. The stagnant water can cause mold and mildew to develop, which can pose health risks and result in costly repairs.
To address this problem, homeowners should first try using a plunger or a drain auger to clear the blockage. If those methods don’t work, it may be necessary to call a professional plumber to investigate and resolve the underlying cause of the blockage for a long-term solution.
Foul Odours
Unpleasant odors emanating from the shower drain are indicative of a potential blockage that may be causing stagnant water, highlighting the need to address the issue promptly to prevent further unpleasant consequences.
The presence of stagnant water in your drains due to blockages can create a breeding ground for bacteria and mold, intensifying the foul smell. When water is unable to flow freely, it pools, leading to a build-up of debris that decays and emits odors.
To tackle this, consider using a mixture of bicarbonate of soda and vinegar to break down the blockage naturally. Regularly cleaning your drains with a specialized brush or plumber’s snake can help prevent blockages and keep odors at bay.
Slow Drainage
Experiencing slow drainage in the shower is a common symptom of drain blockages that require eco-friendly and effective solutions to restore optimal water flow and prevent further blockages.
The impact of slow drainage on shower performance can be frustrating, as it often leads to stagnant water, unpleasant odors, and potential damage to plumbing fixtures. To tackle these issues, eco-friendly solutions such as using a mixture of bicarbonate of soda and vinegar or a drain auger can effectively clear out blockages without harsh chemicals. Restoring efficient water flow, not only prevents recurring blockage issues but also contributes to a sustainable approach to maintaining your plumbing system.
How To Maintain A Clear Shower Drain?
Maintaining a clear shower drain involves regular cleaning, implementing preventive measures, and adhering to a maintenance schedule to ensure optimal water flow and prevent the accumulation of blockages.
Regular drain cleaning is vital because it aids in removing debris, soap scum, and build-up that can lead to blockages and slow drainage. By regularly cleaning your drains, you can prevent costly plumbing issues and ensure that your shower operates efficiently.
In addition to regular cleaning, it is essential to take preventive measures such as using drain covers and avoiding pouring grease or coffee grounds down the drain. These straightforward steps can greatly help in maintaining clear drains and avoiding blockages.
Establishing a maintenance schedule for drain cleaning can assist you in staying on course and preventing blockage build-up, saving you time and money in the long term.
Regularly Clean The Drain
Regularly cleaning the shower drain is a fundamental step in maintaining clear drainage and preventing blockages, necessitating the inclusion of this task in a consistent maintenance routine for long-term drain health.
Taking care of your drains by implementing a regular cleaning schedule not only aids in maintaining proper water flow but also helps in preventing costly plumbing issues down the road. Clear drains contribute to a healthier home environment by reducing the risk of foul odors and potential water damage. Establishing a proactive approach to drain cleanliness involves simple tasks like using drain guards, flushing them with hot water, and periodically treating them with natural cleaning solutions to keep them running smoothly.
Use A Drain Cover
Utilizing a drain cover as a preventive measure can aid in maintaining clear shower drains by preventing debris and potential blockages, serving as a proactive solution for troubleshooting and avoiding blockage issues.
These covers act as barriers, catching hair, soap scum, and other particles that could accumulate over time and lead to a blockage. By simply placing a drain cover over the shower drain, one can significantly reduce the chances of facing a blocked drain dilemma.
Regularly cleaning and removing accumulated debris from the cover can ensure smooth water flow and prevent the need for costly plumbing repairs down the line. Therefore, incorporating drain covers into your regular home maintenance routine is a simple yet effective way to keep your drains clear and trouble-free.
Avoid Pouring Grease And Oil Down The Drain
To maintain a clear shower drain, it is crucial to avoid pouring grease and oil down the drain, as these substances can contribute to blockages and obstructions, emphasizing the importance of preventive maintenance measures.
Grease and oil, when poured down the drain, can solidify and build up over time, causing obstructions that hinder the flow of water. These blockages not only lead to slow drainage but can also result in more serious issues such as burst pipes or flooding.
Implementing preventive strategies such as using drain catchers to capture hair and debris, regular hot water flushes to prevent accumulations, and occasional professional drain cleaning can significantly decrease the likelihood of blockages and maintain proper drain hygiene.